

When choosing between painted aluminium and anodised aluminium sheet, start with what the surface needs to do. Some projects call for a consistent colour across a façade. Others depend on the metallic appearance of the material, the way it reflects light and how it sits next to adjoining parts. Exposure, panel geometry and fabrication sequence matter just as much as appearance. Two sheets in the same colour family can look different under light after bending or installation. A sample that represents the finished part makes the options easier to compare.
Where is painted aluminium suitable?
With painted aluminium, the paint system applied to the metal determines the appearance. A specified colour and gloss range can be useful when visible parts need to match. Façade cassettes, soffits, wayfinding signs and suspended ceiling panels are examples. If the façade and entrance canopy are intended to share a tone, specify gloss and texture as well as the colour code. The same code can produce a different visual impression on surfaces with different textures or under different lighting.
Check the technical data sheet for suitability indoors or outdoors. In exposed settings, consider sunlight, rain, the dirt likely to collect on the surface and how it will be cleaned. Polyester- and PVDF-based systems are among the options available for some applications. Review the conditions of use, forming limits and maintenance requirements as well as the system name. The suitability of a finish for external cladding cannot be inferred from a colour chart or a coating family alone.
Where is anodised aluminium sheet suitable?
Anodised aluminium sheet has an oxide layer formed on the aluminium by an electrochemical process. Clear anodising can be considered where the metallic character of the surface should remain visible. Entrance surrounds, interior wall panels, ceiling details and equipment faceplates are examples. For outdoor use, consider the properties of the architectural anodic coating and its sealing process alongside the project requirements.
Alloy, batch, surface preparation and rolling direction can affect the result. Hold the sample in its intended orientation and inspect it in daylight and under artificial lighting. This reveals how the material responds to different light. When panels sit side by side, rotating some pieces can make them look like a different shade. Mark the orientation on the installation plan and compare samples from different batches side by side if several batches are needed.
Establish the cutting, bending and installation sequence
Set out the order of operations in the fabrication drawing. Will the sheet be cut before or after finishing? Does the part require straight cutting only, or will it be drilled, bent or folded? If the design calls for a tight bend radius, test a sample with the actual alloy, temper, thickness and finish. Painted and anodised sheets can show marks or cracking when formed after finishing. Evaluate their behaviour with the substrate and finish specified for the project.
Mark edges that will remain visible after cutting. The appearance requirements will differ for an exposed edge and a concealed one. If painting or anodising is planned after fabrication, identify the visible faces and where hanging or contact marks can be accepted. Check any protective film instructions, including when to remove the film, to protect the visible faces during transport and installation.
Compare the options in two practical examples
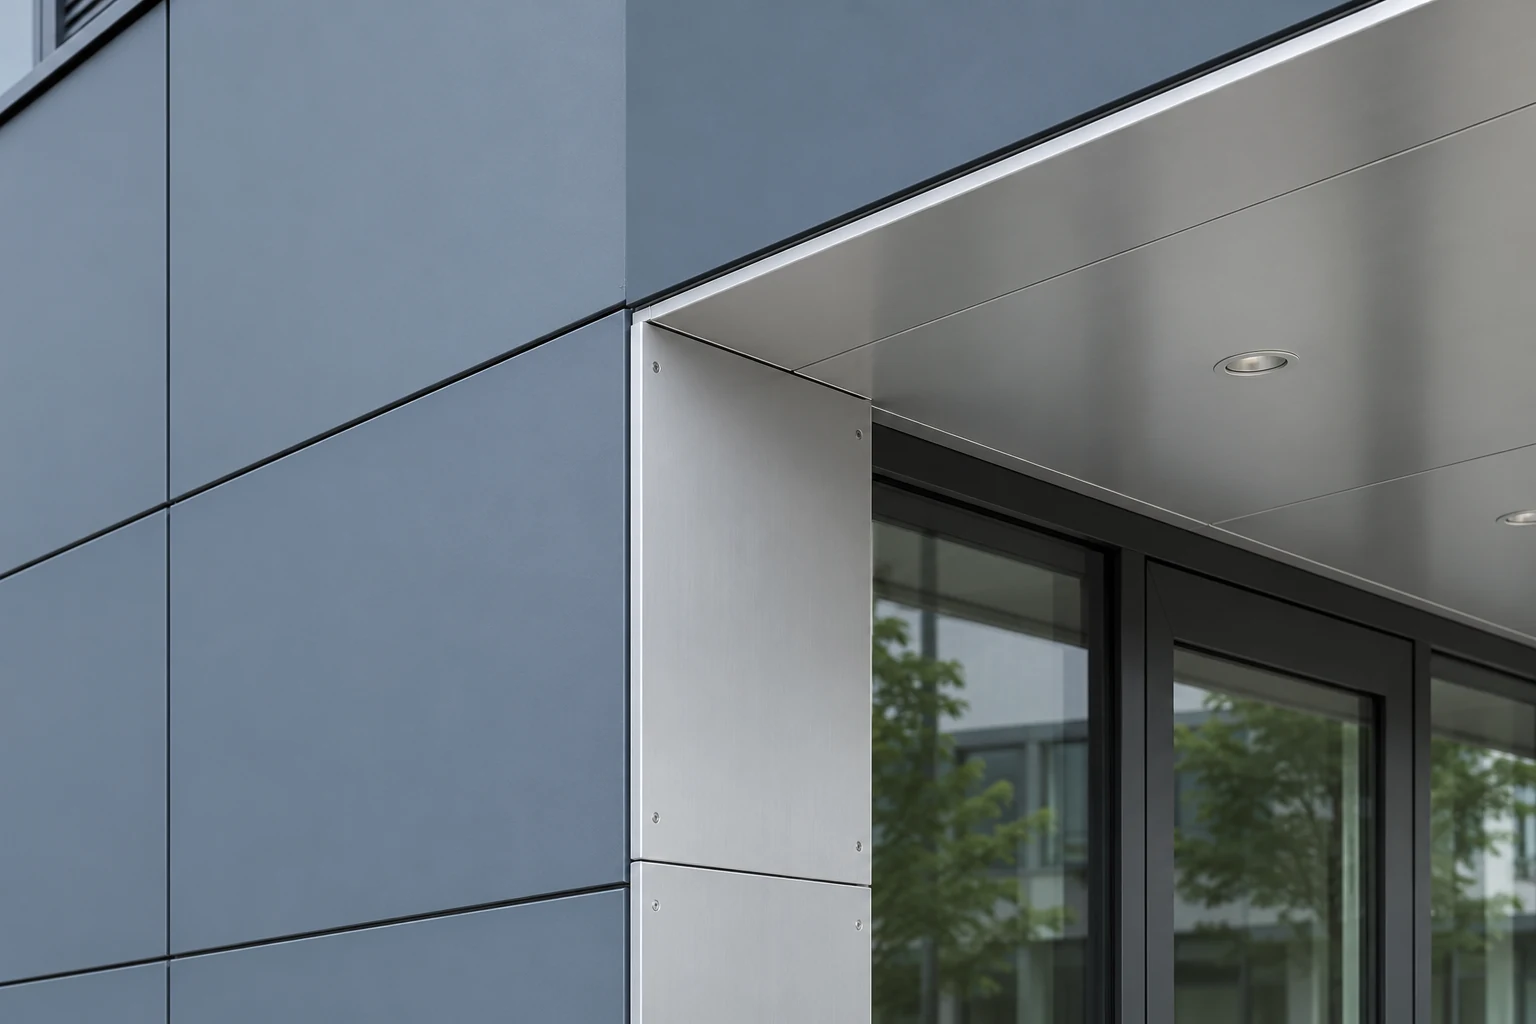
Imagine a shop façade that requires large cassettes and a wayfinding sign in the same colour family. Assess painted samples on the respective substrates for the façade and the sign. Viewing them together in the light on site exposes possible differences in gloss even when the colour code is identical. Bending, joining and cleaning can then be assessed using a sample that represents the approved finish.
In the second example, the design calls for a satin metallic surface around a building entrance. Assess a clear-anodised sample alongside the adjoining glass and stone. The top and sides of the entrance catch light at different angles, so comparing sheets flat on a table may be insufficient. A mock-up showing the corner and joints gives a clearer view of how panel orientation and gaps affect the overall appearance.
What should the technical specification cover?
Record the intended appearance, indoor or outdoor exposure, alloy, temper, sheet thickness, visible faces and order of fabrication together. For painted parts, details such as the colour code, gloss and coating system matter. For anodised parts, define the finish, required coating properties and the acceptable range of appearance. If a standard or test report is required, state which conditions of use and product it applies to. Retain the approved sample as a visual reference for the written specification.
When approving a sample, define the viewing distance as well. A façade panel is usually seen from several metres away, whereas entrance cladding can be inspected close up. Recording the distance and lighting under which a visible corner or joint will be assessed helps fabrication and installation teams use the same acceptance criteria. For projects where parts may need replacing later, record the finish and batch on the back of the approved sample to simplify future comparisons.
In the final comparison, evaluate the cut edge, a representative bend, the transition to the next panel and the installation direction, as well as the face of the flat sheet. Check what the surface will be cleaned with and how. That allows you to compare the colour, gloss and finish specified before fabrication with the completed part. The choice of finish comes down to defining the appearance, manufacturing sequence and conditions of use together.


